A garden for beginners succeeds when you pick the spot before you pick the plants.
Most vegetables need 6 to 8 hours of direct sunlight, but that corner that looks bright at 9 a.m. may be shaded by June when the neighbor’s maple leafs out.
Start with a single 4×4 or 4×8 bed, about 100 square feet, and test your soil by digging six inches down: it should hold together when squeezed but crumble when poked.
[link-whisper-related-posts]Choose a Location
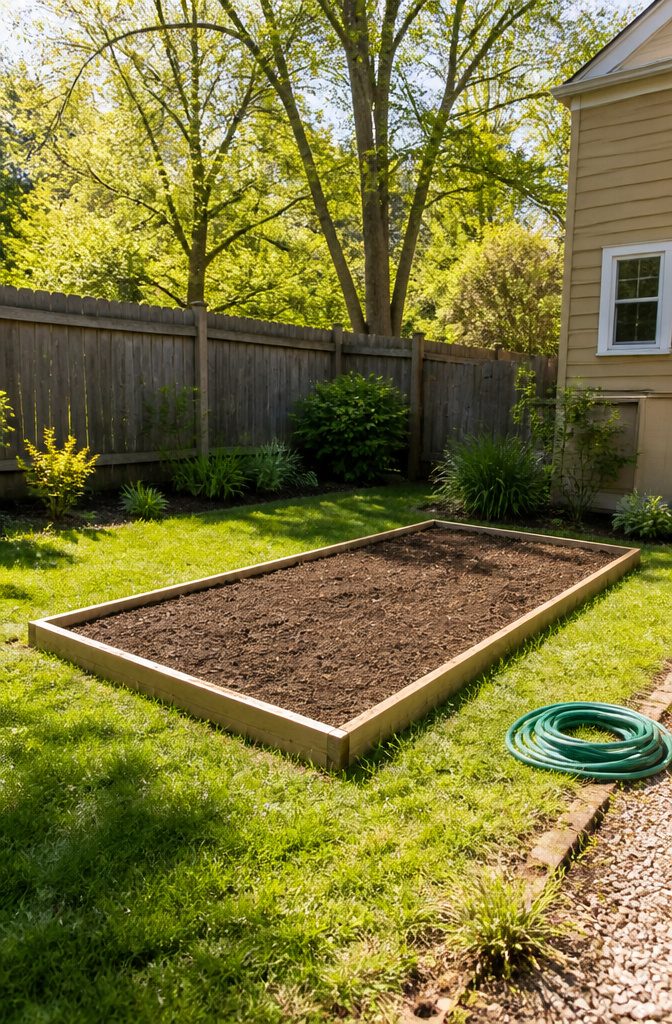
The spot you pick will matter more than anything else you do this weekend.
Most vegetables need 6 to 8 hours of direct sunlight daily, and fruiting plants like tomatoes and cucumbers do better with 10. Leafy greens can get by on 6, though they will grow fuller with more.
The common mistake is planting first and watching later.
I did this with lettuce in a corner that looked bright at 9 a.m.; by June the neighbor’s maple had leafed out and the bed got maybe 3 hours. The lettuce bolted in two weeks.
To check your own yard, spend one Saturday noting where light falls every two hours. Watch for trees that are bare now but will shade by summer.
Mark the wet spots too; water that pools after rain means poor drainage and rotted roots. If that is all you have, raised beds are the fix.
Keep the garden close enough to a hose that you will actually water it. A corner behind the garage might get perfect sun, but out of sight becomes out of mind fast when July turns dry.

Raised Garden Bed - Add a new level of convenience to your gardening experience with the Galvanized Raised Garden Bed. Enjoy expanded yield and a more assembled garden layout with this garden accessory, each sized at 120 cm X 60 cm x 30 cm.

BETTER FIT FOR RAISED BEDS: Available in multiple sizes to fit common raised garden beds, this cover slips over the bed to create a cleaner, more enclosed growing space. Great for vegetables, herbs, seedlings, strawberries, lettuce, and flowers. Measure your garden bed before ordering for the best fit.

Plan the Garden Size
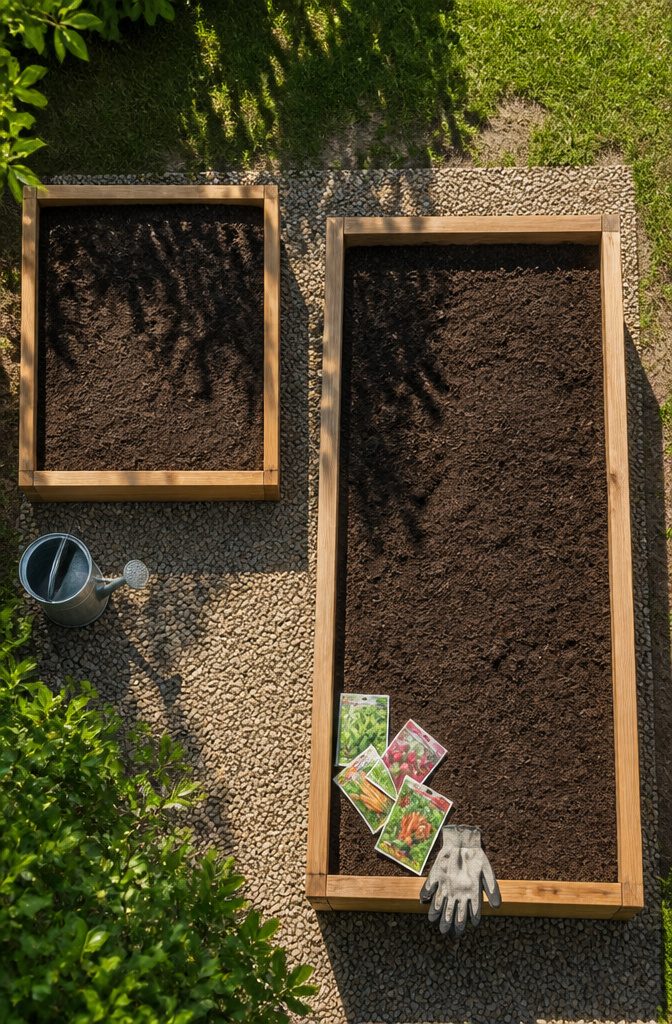
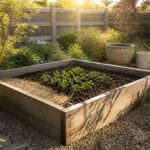
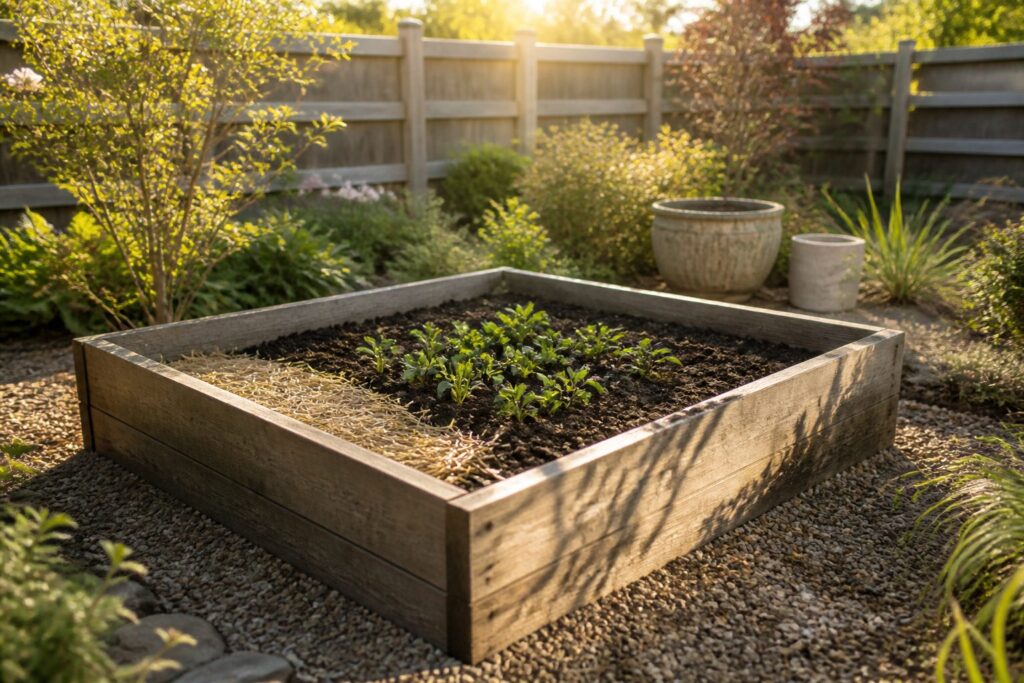
A 4×4 or 4×8 raised bed is enough for a first season.
That is roughly 100 square feet, the same footprint a 10×10 in-ground plot would give you, and either size lets you grow three to five vegetable types without the whole yard becoming a commitment you regret by July.
I learned the hard way that starting small is not about lacking ambition. It is about giving yourself room to make mistakes that do not cost the entire growing season.
My first bed was a 4×8, and when half the peppers got leggy from too much nitrogen, I still had the other half producing tomatoes. Scale down to a couple containers on a patio if that is what the space allows.
You can always add beds the following year once you know how much time weeding and watering actually take, not how much you imagined back in March when the seed catalogs arrived.
The marathon-versus-sprint analogy sounds tired until you live it.
A decade in, my garden is larger now, but only because I spent those early years watching where the sun fell and which corners I actually walked to with a watering can.

Instant fabric raised garden bed for plants, flowers and fresh herbs, vegetables and fruit. Ready to go out of the box; No assembly required.

Size: 96"(L) x 48"(W) x 24"(H),Planter raised bed provide outdoor sufficient space to grow vegetables,flowers,galvanized garden bed
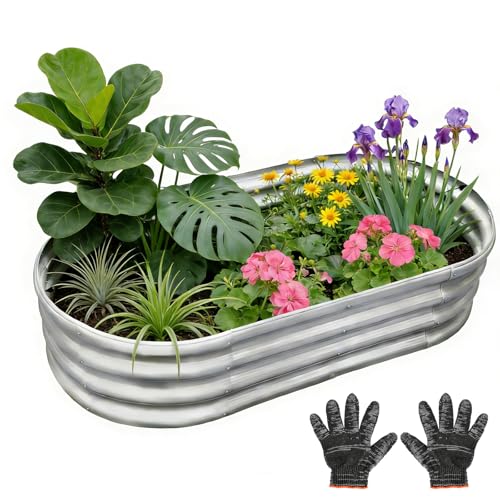
PRO-GRADE GALVANIZED STEEL: The average garden beds sheet reaches 0.79mm, and the thickest part can reach 1.59mm. The surface of our garden beds are double-galvanized with an extra layer of chrome-free passivation technology, resist rust 3X longer than standard metal planter boxes, ensuring 10+ years of durability in rain, snow, and extreme temperatures
Prepare the Soil
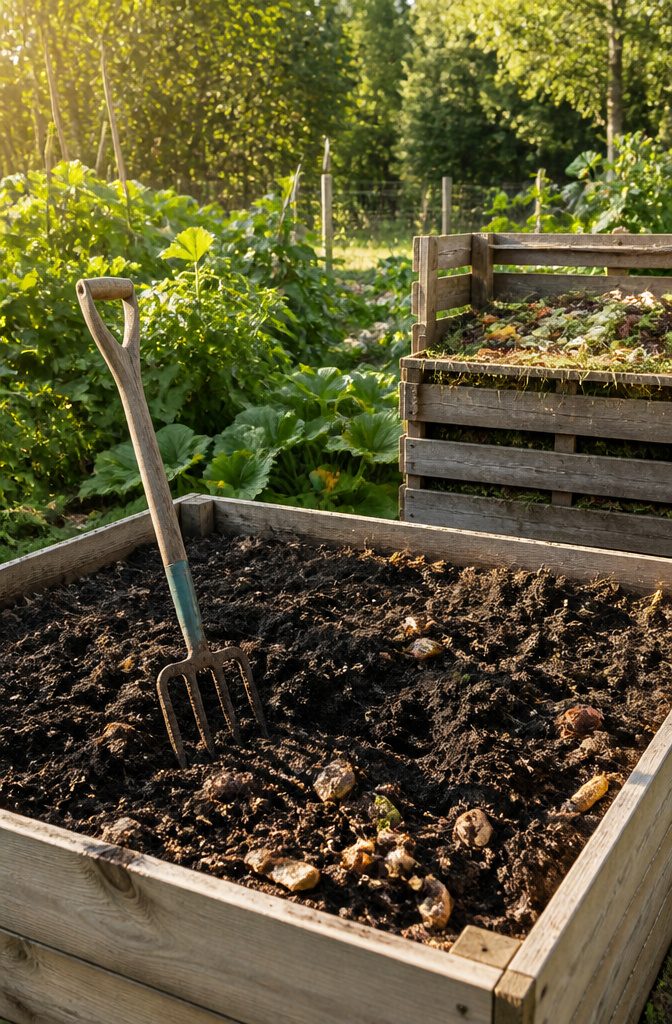
Soil testing for a beginner garden does not need a lab kit. Dig down about six inches in a few spots and look at what comes up.
Good soil holds together when squeezed but crumbles when poked. If it feels like wet clay or falls apart like sand, adding compost improves nutrient levels and soil structure enough to grow in it anyway.
Compost is decomposed organic material, kitchen scraps, grass clippings, leaves. That breakdown into rich, black material gives plants what they need and opens up dense or sandy ground so roots can move and water can drain.
Build your soil before you even look at seed catalogs; I learned that order the hard way. Once the compost went in, everything else got easier.
For poor existing soil, spread two to four inches of compost over the surface and work it in with a shovel or garden fork. If the ground is hard like concrete or sandy like a beach, do not panic.
Soil can be improved. Buy compost in bags for a small bed, or order bulk from a landscape supplier if you are filling more than one raised bed to save money and cut plastic waste.
Skip synthetic fertilizers. Natural inputs like compost, worm castings, or compost tea support overall soil health instead.

Designed For Large Plant LED Grow Light Full Spectrum - Compact grow light with high quality super bright LEDs, offer full spectrum 380nm-800nm, including white5000K/18 LEDS,warm white 3000K/18 LEDS,red/8 LEDS,blue/4 LEDS to effectively promote indoor plant growth any time of year, beneficial to entire growth period.

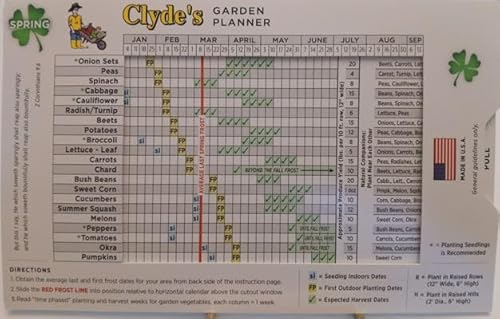
Chart Provides Both Indoor and Outdoor Seeding Dates for 22 Commonly Grown Garden Veggies, (Chart Size = 51/8" x 81/2", 12 Point Cardstock Paper).
Select Plants
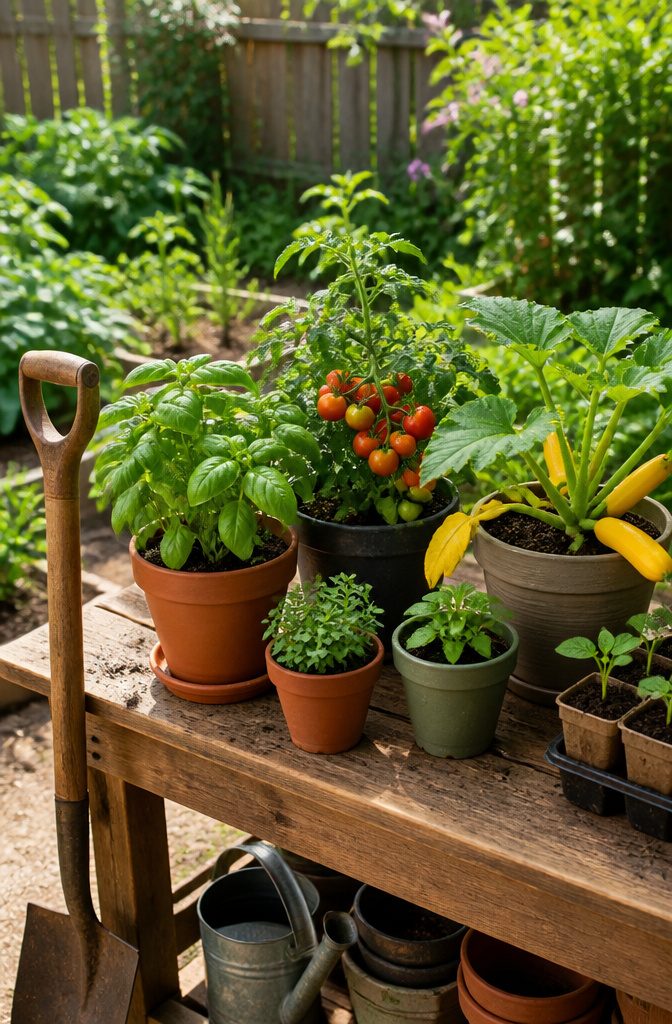
A shopping list does not stop you from buying one of everything and cramming beds so tight that nothing thrives. A 4×4 or 4×8 plot, or a 10×10 in-ground space, realistically holds a handful of crops if you want them to produce.
Lettuce earns its spot because shallow roots mean it needs only a 6-inch-deep pot or bed, and you can cut leaves multiple times from the same plant before it bolts.
Radishes finish in about a month and grow even in a 4-inch container, giving you an actual harvest while slower crops are still thinking about it.
Tomatoes, peppers, and zucchini want warm soil and at least six hours of sun, but they keep producing once they start. Bush or pole green beans are nearly as forgiving, and picking them often tells the plant to keep going.
Basil and mint round out the starter lineup with opposite personalities: basil stays polite in a pot, while mint grows like a weed and will take over any bed you give it, so keep mint in its own container with its own water.
Root vegetables like radishes are always best direct-sown rather than transplanted, but for the rest, nursery seedlings save you the timing stress of starting indoors.
Talk to local nursery staff about what thrives in your area right now; they see the same weather you do.

Quick, at home results for Soil pH, Nitrogen, Phosphorous and Potash Innovative and inexpensive soil test kit features an easy-to-use capsule system and patented color comparators

Comprehensive Soil Analysis: Liquid soil test kits offer a comprehensive analysis of essential soil parameters, including pH, ammonia, nitrogen, phosphorus, and potassium. Having all these measurements in one kit provides a holistic understanding of the soil's fertility and health.

KNOW BEFORE YOU GROW | Grow the healthiest, sustainable lawn and garden with the most accurate and easy to use professional soil test kit on the market
Plant at the Right Time
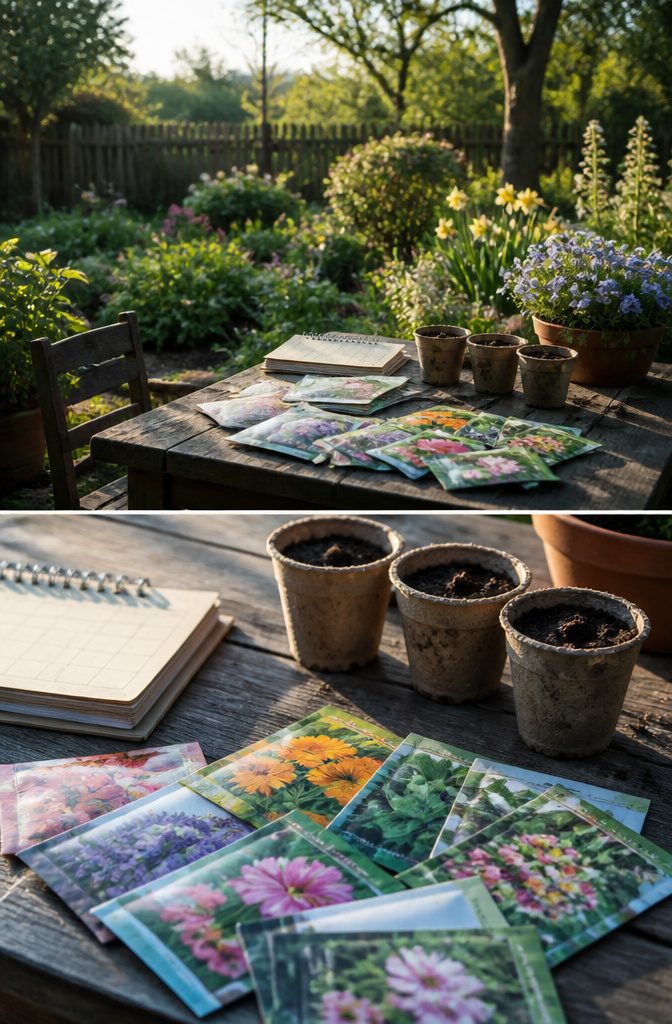
The first spring I planted tomatoes in March, a late frost turned them to black sticks. I had read the seed packet, but I read it like a suggestion.
Your average last spring frost date is the line between cool-season crops and warm-season crops.
Cool-season vegetables like lettuce and carrots can handle lower temperatures and go in early spring. Warm-season crops like tomatoes and peppers need the soil to warm up and go in only after that frost date has passed.
Every seed packet carries zone information and suggested timing. I now check the packet against my ZIP code in a frost date calculator the same way I check a map before driving somewhere new.
The packet might say "start indoors 6–8 weeks before last frost," which means counting backward from the date the calculator gives, not from the day the garden store puts seeds on display.
Some growers skip the calendar and watch soil temperature instead. Frost dates are simply a guide, but they are the guide that kept me from losing a second batch of tomatoes.

[ Fir Wood Raised Garden Bed ]: Made by ScienGarden, this raised garden bed is crafted from fir wood for a sturdy yet lightweight structure. The polished wood surface is finished with water-based paint, giving this elevated garden bed a natural look while helping protect the planter box during outdoor use on patios, balconies, decks, porches, and backyards.

Convenient Drip irrigation kit has everything needed to water up to a 4’ x 8’ raised bed garden

DIMENSIONS: 44. 9 in. W x 19. 4 in. D x 29. 8 in. H
Water Appropriately
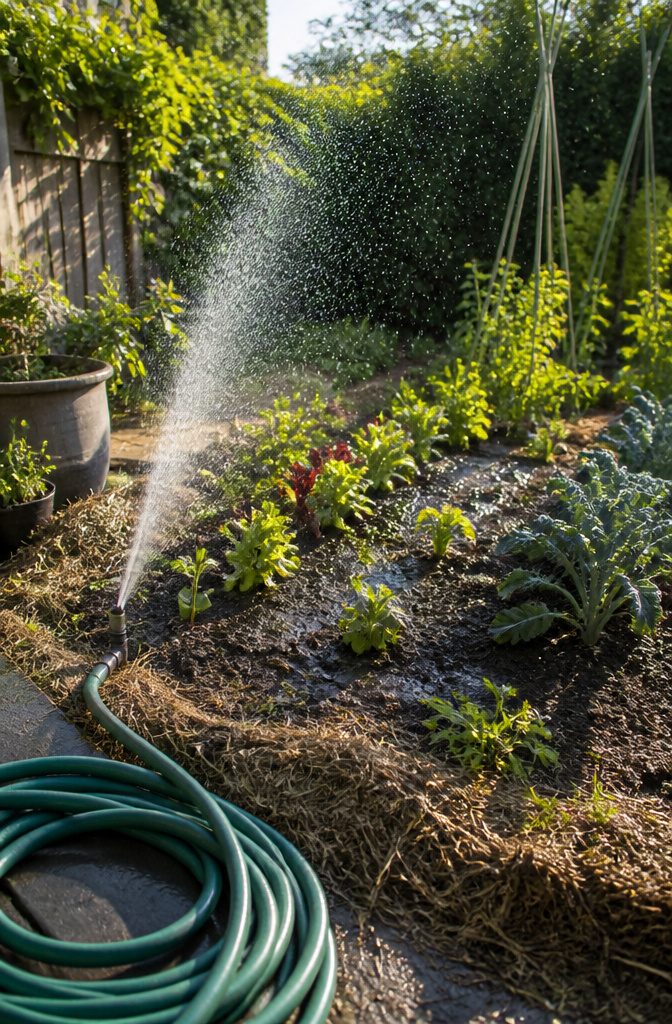
New gardeners usually reach for the hose every evening, and that habit ends up working against them.
One inch of water per week, delivered all at once, trains roots to grow downward toward moisture instead of spreading shallow and weak near the surface.
The soil should dry slightly between waterings so roots can actually breathe; soggy ground drowns them just as surely as drought does.
I check by pressing a finger straight down to the second knuckle.
If the soil there is still damp, I wait. If it comes up dry, it is time to water.
Early morning is the better window when you have the choice, since wet leaves overnight tend to invite disease and plants handle stress better going into the day with dry foliage.
A layer of mulch, two inches of compost or straw, buys you more margin by slowing evaporation from the top of the bed.

Garden Covers for Raised Beds: Includes 2 rectangular mesh garden nettings (garden bed is not included!) 55.1 * 27.6 * 17.7in size is perfect for covering 4 x 2 FT raised garden beds, flower planter boxes; featuring fine mesh of 0.05in, which keep insects out of the plant while allowing sunlight, air and rain to pass through. And a pack of 12 garden clips for positioning.

SPACIOUS GROWING SPACE WITH EXTRA PLANTING DEPTH:Measuring 91.5" L × 47.3" W × 22.06" H, this galvanized raised garden bed holds approximately 412 gallons of soil, providing generous planting space and extra depth for vegetables, herbs, flowers and fruits. The spacious design allows roots to grow naturally while supporting tomatoes, peppers, cucumbers, broccoli, beans, lettuce, carrots, potatoes and other popular garden plants. Ideal for backyard gardening, raised vegetable gardens and outdoor planter box projects.

Spacious and Practical Growing Area: With 16 square feet of planting space and a depth of 11 inches, this raised bed offers ample room for growing vegetables, herbs, and flowers. The 1-foot depth supports deep-rooted plants and promotes healthy soil conditions
Manage Weeds and Pests
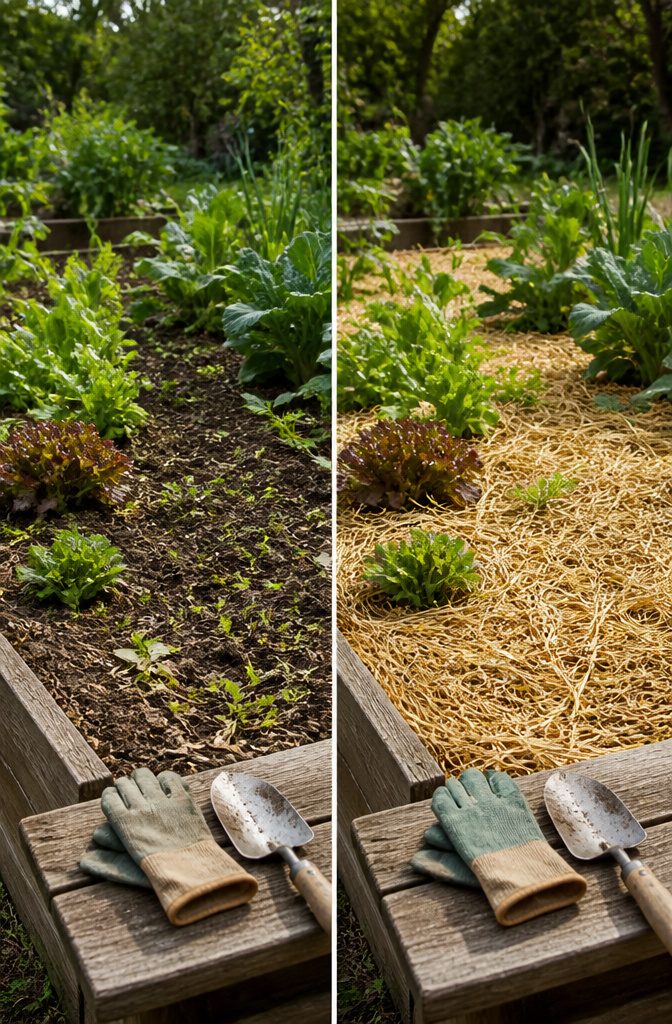
Mulch buys more time than any other single move I made in my first season.
Straw, wood chips, or shredded leaves laid over bare soil blocks the light that wakes weed seeds, and the moisture it holds in means less hauling of the hose too. Two problems handled for the effort of one wheelbarrow trip.
Checking plants every few days is what catches pest trouble while it is still small enough to pinch between your fingers. A few holes in leaves are normal; perfect produce is mostly a grocery store illusion.
What you are watching for is the sudden spread, the cluster of aphids, the leaf curling back on itself. Ladybugs handle aphids if you leave them be, and insect netting covers the rest when the pressure gets thick.
General maintenance like this does not require you to know every bug by name on day one. It holds the garden steady while you learn which techniques match which problems, and which ones your particular patch of ground actually faces.

SIZE: The plant bed measure is 94.48"L x 47.24"W x 16.92"H. This planter box provide ample growing space to raise vegetables, flowers and plants.

What You Get: we have included Galvanized raised garden bed kit with detailed assembly instructions, rubber edge strips, safety gloves , wrench tools and with galvanized nuts and bolts in the box .These essential tools elevate your overall planting and gardening adventure

Dimension: 96in.L x48in.W is ideal planter box when gardening at home. Side panels of 0.40mm,corner panels of 0.70mm, holds up to 31 cu. ft. of soil
Harvest at the Right Time
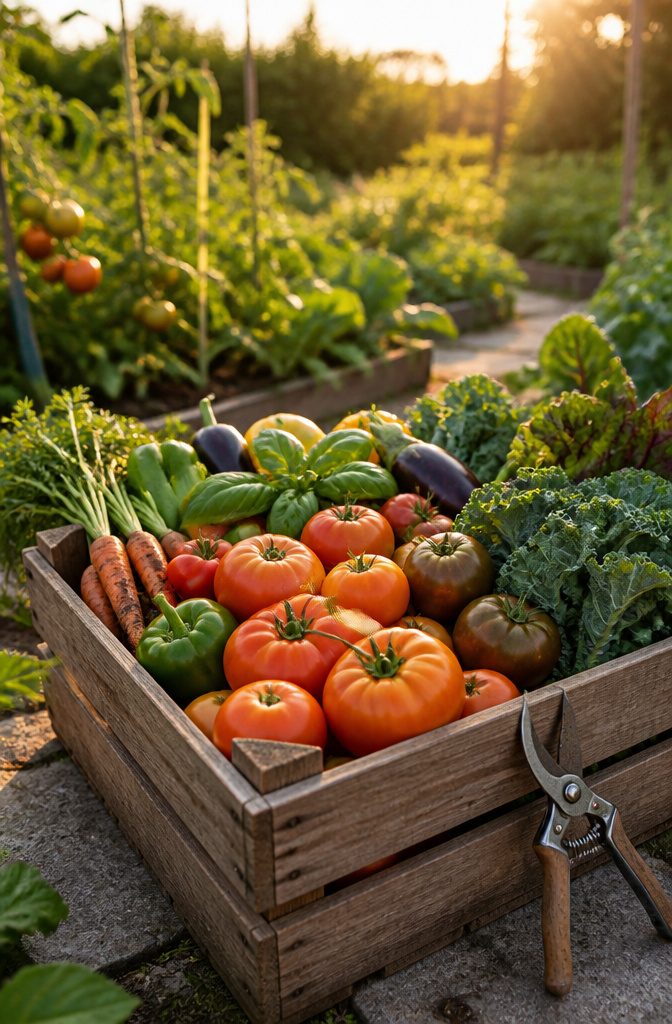
A tomato still half green will go red on the counter, but the sugar that makes it taste like something stays on the vine. Fully colored and slightly soft is the moment to pull it.
I learned that the hard way with my first cherry tomato plant, harvesting the morning after a rain when they were firm and glossy and finding the flavor flat as water.
Lettuce flips fast. One week the leaves are tender; the next, a bitter core shoots up through the center as the plant bolts to seed.
That bitter center is the signal you waited too long. Cut outer leaves while they are still mild, and the plant keeps producing from the middle.
Regular picking works like a conversation.
Snap the beans when they bend clean, lift the carrots when the shoulders look sized, and the plant hears the message to set more fruit. Let the harvest sit, and the plant reads that as retirement.
I now walk the beds every two or three days in peak season, a pair of scissors in my back pocket, because the difference between a meal and a missed window is often forty-eight hours.

[5x Faster Growth]: Hydroponics growing system employs advanced LED grow lights, simulating sunlight for 16 hours of photosynthesis. Extended light exposure means rapid plant growth. Hydroponics outpaces traditional soil cultivation by 500%.

Mechanical water timer saves time and hassle

【UL Certified Grow Light with Timer】Espird outdoor grow lights are UL certified. Compared with other plant lamps, UL stringent certification process means that our product is much safer and guaranteed. Espird upgraded mechanical timer a scale showing 24 hours on the dial. Compared with the previous photocell sensor timer, it will not be disturbed by artificial light, which makes it more free to use.
Raised Beds or In-Ground
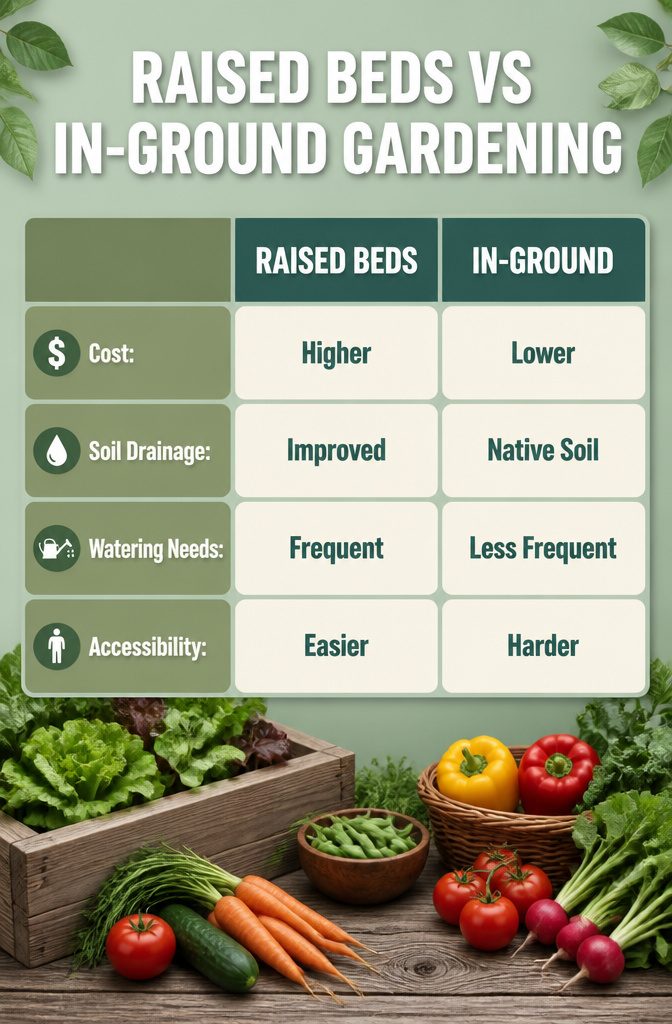
Raised beds sit above your yard’s existing soil, which changes almost every practical thing about how the garden behaves.
Drainage improves because water falls through the fresh soil mix and exits out the bottom rather than pooling where you planted. That same gap, though, means the beds dry out faster and need more frequent watering than ground-level planting.
Access is where my own back made the call: bending to ground level for weeding and harvesting gets old fast, and raised beds put the work surface closer to standing height.
Raised beds cost more and take work to set up. Lumber prices have climbed sharply, and even metal kits like the Birdies line run more than planting directly in amended earth.
In-ground beds ask less of your wallet at the start and hold moisture longer, but they demand that your native soil be workable and that you can get down to it physically.
Start small—you can always expand next year.
That applies to the bed decision too.
A single raised bed lets you test whether the ergonomics matter enough to justify building more, while a small in-ground plot costs nearly nothing and reveals what your soil actually is before you commit to importing replacement dirt for a whole yard of boxes.
If your ground stays wet after rain or roots ache after twenty minutes of kneeling, raised beds earn their price quickly; if neither applies, in-ground leaves more budget for plants.

Kindly NOTE: This soil tester can not be applied to test pH value of any other liquid. If the soil is too dry the indicator will not move, and water it before testing.

Accurate Soil pH Testing: Dewildetradingco Soil pH Test Strips offer measurements of soil pH levels (pH 3.5-9). As an essential tool for every gardener and grower, these test strips help determine the optimal pH for various plants, such as outdoor plants, indoor plants, gardens, grass lawns, fruit trees, flowers, vegetables, and forest shrubs.

✅ 1Dial & 1 LCD Screen - Replace/install all 3 batteries each time. Put button to %RH/°F to - Turn On, and put to LIGHT to - Turn Off. Read the LCD results in 3-5 mins. (Not Water Moisture Meter, so, please don't test liquid)
Seeds or Seedlings
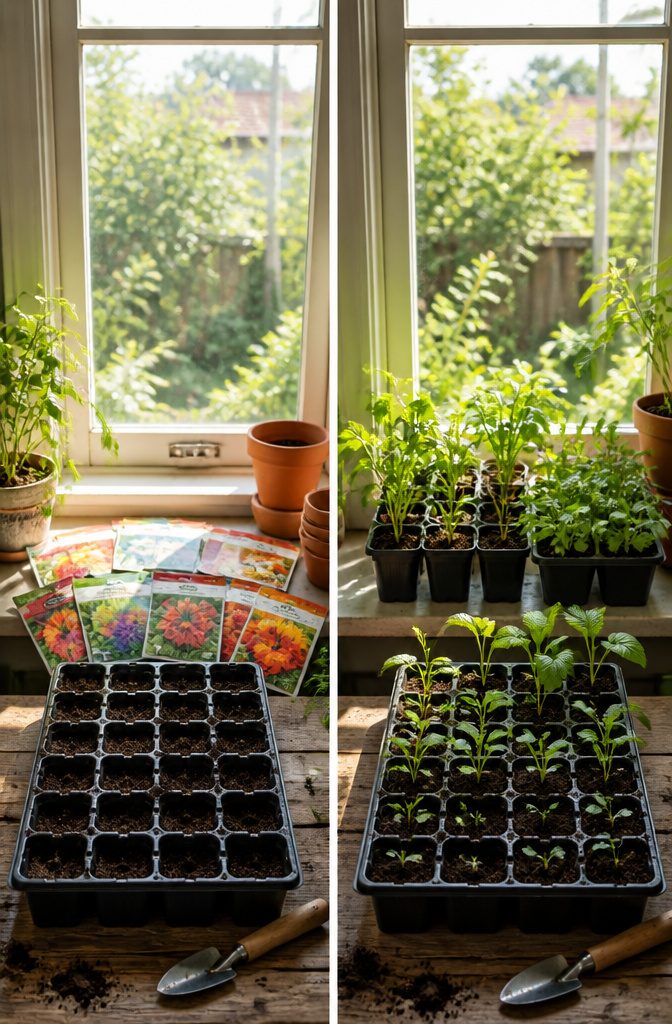
A packet of tomato seeds runs about two dollars and change, while a single seedling at the nursery costs between three and five.
That math flips fast if you want more than a couple plants, but seeds need six to eight weeks of indoor growing before they touch soil outside, and most beginners do not have that calendar space.
Seedlings win on speed.
You drop them in the ground Friday evening and have a living garden by Sunday. They also dodge the hardening-off ritual, moving seedlings from protected indoor light to full sun over a full week so they do not cook.
I lost a flat of peppers to sunscald one May because I rushed that step, and the replacement transplants cost more than starting with seedlings would have.
Seeds win on variety. The nursery carries maybe six tomato types; a seed rack carries dozens.
Root vegetables like carrots, radishes, and beets do not transplant well at all, so those go direct from packet to soil no matter which route you take for the rest of the bed.
My call for a first-timer with one weekend and a hundred-dollar budget: buy seedlings for tomatoes, peppers, and any crop you want to harvest fast.
Sow seeds only for root crops and anything the nursery does not stock. The learning curve of starting seeds indoors is real, and the cost savings vanish if you need grow lights, trays, and potting mix to support them.

[Durable HIPS Material]: The poly wood raised garden bed is crafted of 100% HIPS material, which is characterized by excellent weather resistance, fade resistance, rot resistance, and crack resistance. It also ensures a lifespan of 5-10 years, eliminating the need for frequent replacements.
What Sunlight Means for Plants
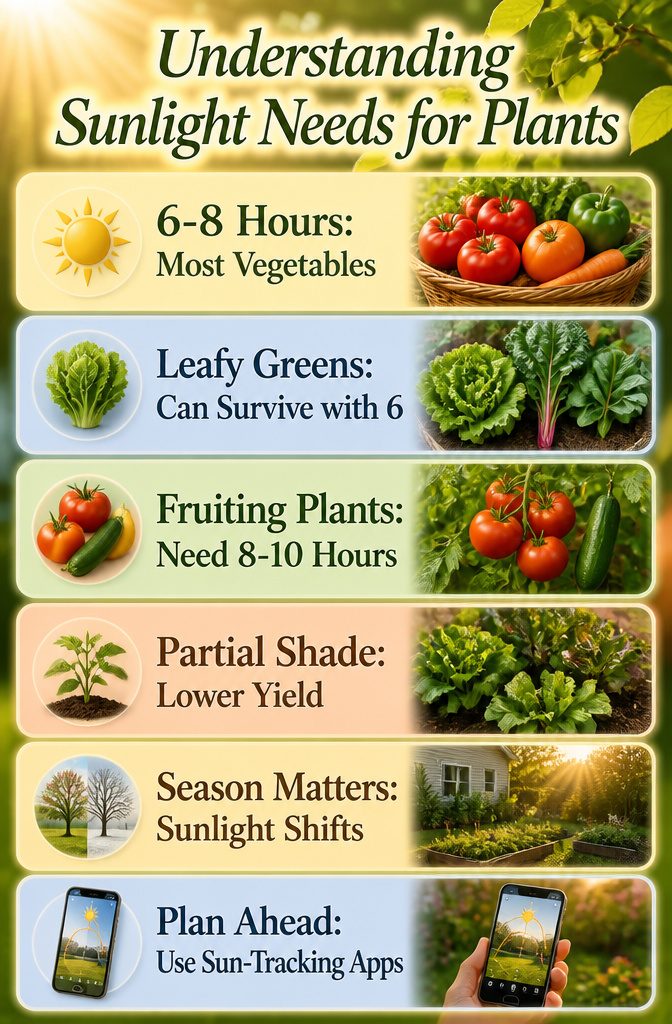
Light duration and light intensity are not the same thing, and the seed packet does not always say which one it means.
A spot that gets 6 to 8 hours of direct sun is the baseline for most vegetables, but leafy greens like lettuce, kale, chard, and spinach can produce with six hours and root crops like radishes, turnips, and beets will manage it too.
The real troublemakers are the fruiting plants: tomatoes, squash, and cucumbers want eight hours at minimum and perform noticeably better with ten.
Partial shade on a packet is a softer term than it sounds.
In practice it often means the plant will survive with less than full sun, not that it will thrive there. The yield drops, the stems stretch, and the harvest takes longer.
If your only available space falls short, you have two workable paths. One is to lean into the limitation and plant only leaf and root crops in that spot.
The other is to observe how the light shifts through the seasons; a south-facing area in the northern hemisphere picks up hours in summer that it lacks in spring, and a winter garden can sometimes run where a summer tomato would sulk.
Sun-tracking apps can map this before you dig, though a year of watching with coffee in hand does the same job.
What I Planted Too Much Of
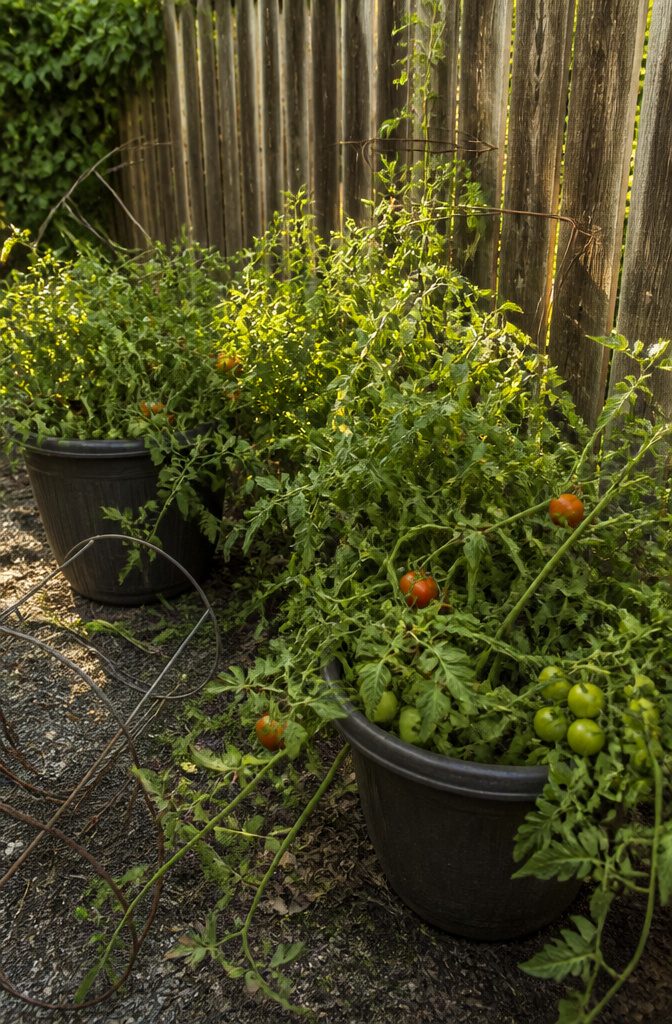
Tomatoes were the crop that taught me the hard way. That first spring I put in eight plants, which felt modest compared to the catalogs spread across my kitchen table.
By July the vines sprawled past their cages, fruit rotted before I picked it, and the whole patch turned into a humid mess of blight.
Planting too much at once cost me about $40 in seedlings and soil amendments I had not planned for, plus every Saturday morning that August wrestling something I no longer wanted to eat.
The herbs and lettuce I started the same year did fine because they asked so little. Two tomato plants would have been plenty for a household of two.
The real waste was not the squash that never formed or the peppers drying on the stem; it was the $60 of containers and trellis bought for a garden I had already stopped caring for.
Starting with a couple of raised beds, or even a few containers on a patio, gives you room to notice how the sun moves and which corner stays soggy after rain.
You can always expand once you know what a weekend of weeding actually feels like.
Small-Space Options
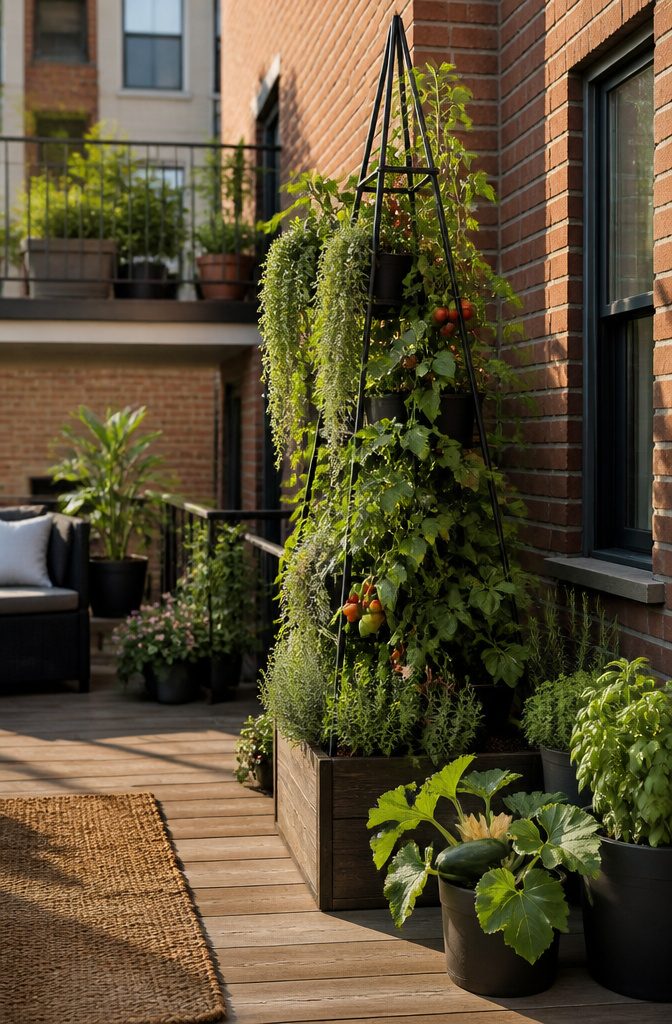
Vertical gardening bought me back about six square feet of patio the first summer I tried it.
A simple panel trellis against the railing let three tomato vines climb instead of sprawl, which meant I could still walk to my chair without brushing through leaves.
Trellises work best if you set them before the soil or containers are in place; retrofitting one after the plants are established is awkward and usually ends with snapped stems.
Beans, peas, cucumbers, and smaller tomatoes take to trellises naturally. Obelisks fit inside raised beds or large pots and replace floppy tomato cages once the vines get heavy.
Arch trellises look inviting between two beds, but skip them over a single bed: the shadow underneath will cost you most of that growing space.
Hanging planters suit herbs and strawberries, though they dry out fast.
Containers from a 12-inch pot upward open the door to beets, peppers, lettuces, even compact squash. The larger the container, the more forgiving the watering schedule.
One half-barrel on wheels let me roll cherry tomatoes into sun or shade as the afternoon changed, which mattered more than I expected on a rental balcony with no fixed light.
Frequently Asked Questions
What are the easiest vegetables to grow?
Lettuce, radishes, green beans, tomatoes, peppers, and zucchini are all forgiving choices for a first garden.
Lettuce and radishes mature quickly, while tomatoes and peppers keep producing once they start. Bush or pole green beans are nearly as easy, and picking them often encourages more growth.
How do I prepare my garden soil?
Dig down about six inches and squeeze the soil; it should hold together but crumble when poked.
Spread 2 to 4 inches of compost over the surface and work it in with a shovel or garden fork. Skip synthetic fertilizers and use natural inputs like compost, worm castings, or compost tea instead.
When should I plant my garden?
Plant cool-season crops like lettuce and carrots in early spring, and warm-season crops like tomatoes and peppers only after your average last spring frost date.
Check seed packets against your ZIP code in a frost date calculator rather than trusting store displays. Some growers also watch soil temperature as a secondary guide.
How often should I water my garden?
Deliver about 1 inch of water per week all at once, letting the soil dry slightly between waterings.
Check by pressing a finger down to the second knuckle; if the soil there is still damp, wait. Water in early morning when possible, since wet leaves overnight invite disease.
What size should my garden be?
A 4×4 or 4×8 raised bed, or a 10×10 in-ground plot, is enough for a first season. That gives you roughly 100 square feet to grow three to five vegetable types without the whole yard becoming a commitment you regret.
You can always add beds the following year once you know how much time weeding and watering actually take.